Summer is in full force and i have some more recipes and stuff ive made to indulge yourself and enjoy but at risk of constantly making recipe posts i thought i would show you guys a little something AWESOME that i made for my friends birthday that just passed (and ... for myself of course)

sorry it's a little lot blurry
I'm sure if youve been around pinterest or etsy youve notices these guys popping up all ovefr the place, so i thought i would give these geo beads a go.
Supplies:
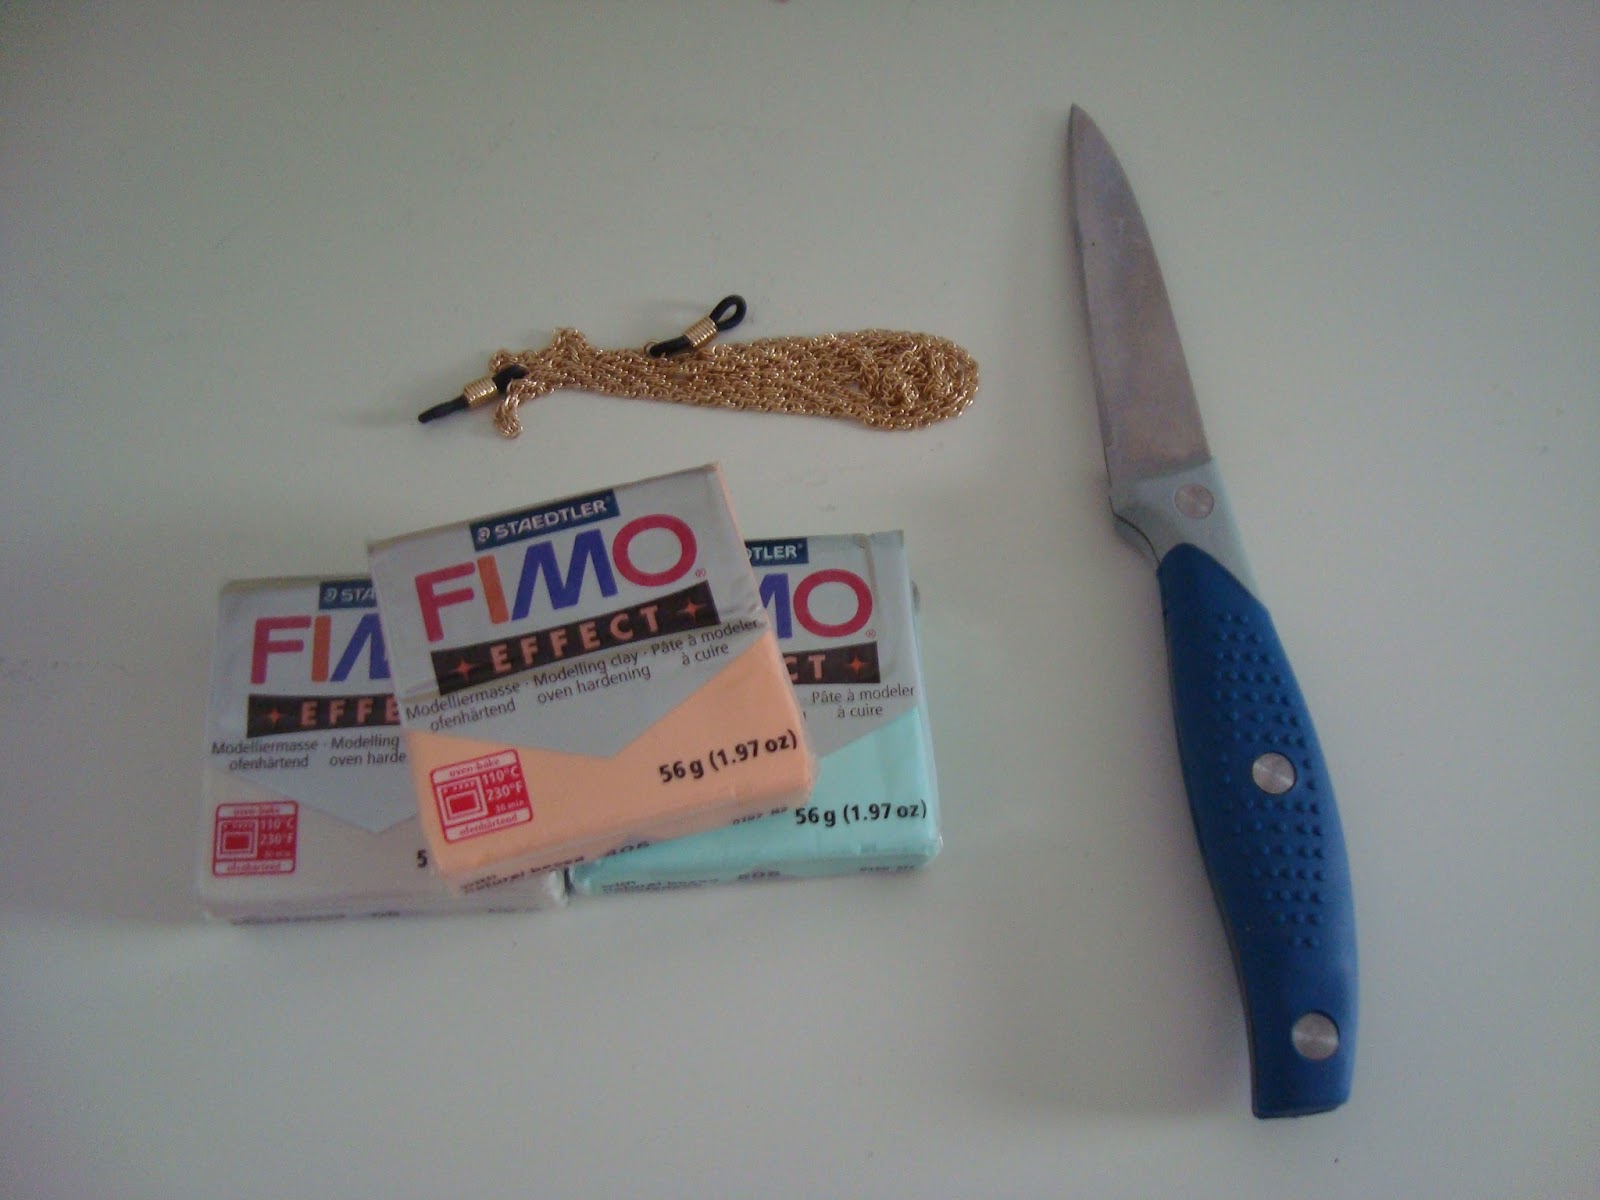
Polymer Clay: assorted colours (i used three)
Toothpick
Tin Foil
Knife / Razor Blade
Cording / Chain etc for putting your jewellery on.
Plastic gloves (optional)
Superglue (optional)
That's it!
Step 1:
Open up your polymer clay and portion out how much you need, for reference i used half of each block colour and was able to make six big necklace beads as well as a set of earrings in each colour, however they came out on the medium side, so if you want them larger and as more of a statement i would use more.
Step 2:
Roll up your polymer into the amount and size of beads you desire and make them a round ball, i would recommend if you have any to wear gloves, i didnt have any and there are some slight finger prints that i wouldve liked not to be so obvious. Once you have all the balls you like take your knife or blade and start cutting into the balls. I made two lines at the bottom and then just worked around that but obviously you can it look however you like.


Step 3:
Make sure you remember to use the toothpick or any other device o put holes through the beads you want to string and any earrings you want to make leave as is. Once you have everything done that you want to bake, it's time to put them in the oven! Depending on what you kind of clay you are using the directions will be different, if the clay doesnt specify you can look it up all over the internet. I preheated my over to 260 degrees and placed all my beads on some tin foil and then on a plain baking sheet (again there are other options out there for cooking clay so do some research depending on what you want the end result to be!)

Step 4:
I ended up making three necklaces and 4 sets of earrings, i purchased some rose gold chains and was planning on making some really nice pieces however the rose gold didnt go well and silver / gold didnt make sense with the colours i chose. I ended up purchasing some beige cording and some silver earring posts. I love how they turned out, like i said i would prefer if i had gloves to wear while working with the clay and it was my first time ever experimenting with making my own jewellery, but it was super easy!

Good luck and link me to your blogs if you have tried this tutorial or any suggestions you might have that i missed!
Happy July :)